In this tutorial, we will create an Email Validator using HTML, CSS, and JavaScript. We will build and use this Email Validation API to validate a given email address. The objective of this blog is to understand how HTML, CSS, and JavaScript can be used along with this Email Validation API to create a useful website.
Project Demo
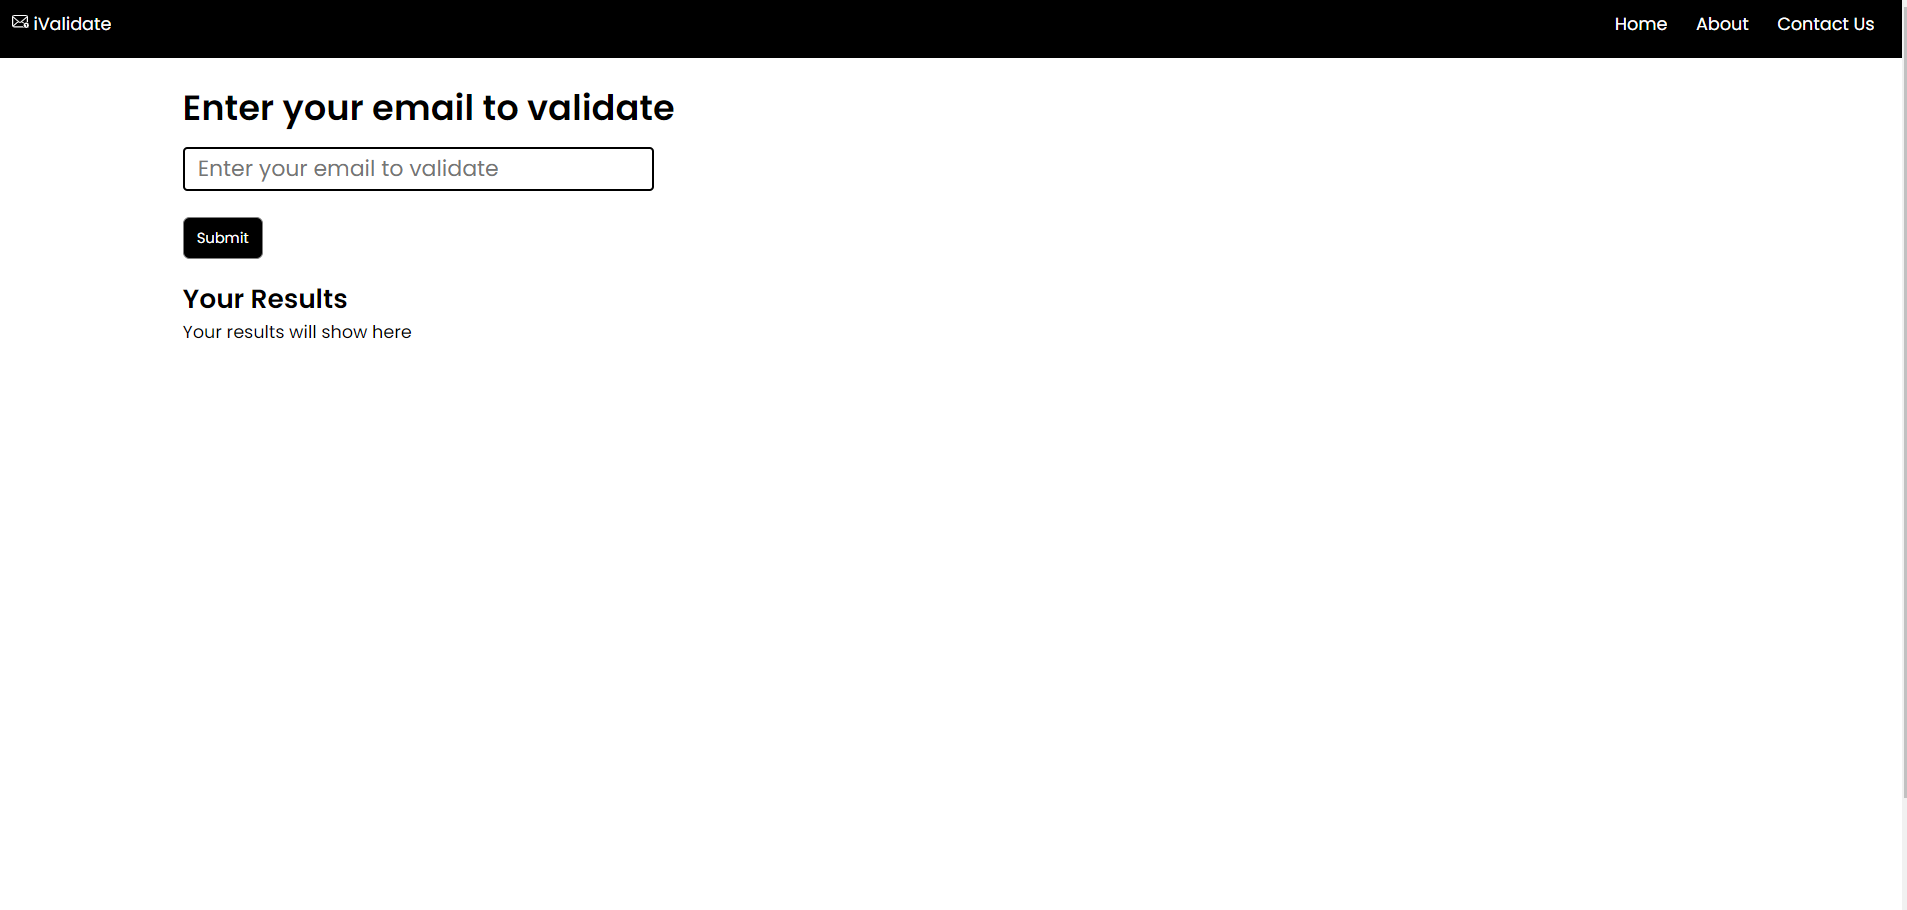
This is how our final email validator will look like:
This Email validator is also responsive and on a mobile phone it looks something like this:
HTML Structure of our Email Validator
We will use a very basic HTML structure for our email validator. Now, we will start adding a form where we will take the desired information as email input and we will also add a button to submit the information. Now, all that’s left is the output. We will also add the output part as a normal container.
Here is the HTML code of our email validator without any styling.
Note to Readers: You may notice links in the navigation bar like "/about" and "/contact." These pages are placeholders, and you can add these pages to your website if you wish to.
This is how our website will look like after adding the basic HTML structure:
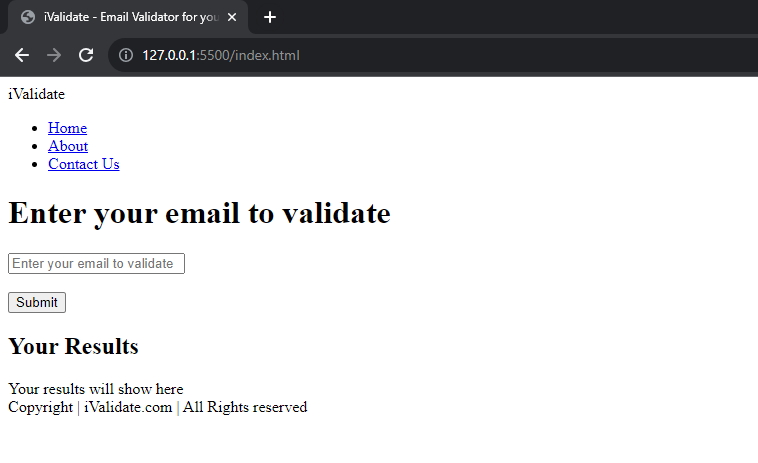
I know, this does not look good at all. Let’s add some CSS to beautify the website:
Adding CSS to our Email Validator Website
We will add CSS styles including media queries to make our Email validator website responsive. This will help our mobile users use our email validator. The raw HTML code looks a little ugly. Let's add the below CSS to style our Email validator:
After adding all the relevant styles, this is how our webpage will look:
We are done with the frontend part. Now, we will start coding the logic where we will use the Email Validation API to gather and validate email addresses.
JavaScript - Adding the Logic
We will be using Email Validation API for this application. EmailValidation.io provides us with a robust email validation API which is the perfect API for our email validation app. Navigate to this login page and create your account. You can use the free plan as it gives us 1 API Key & 100 free requests per month. If you need it for a large-scale application, you can purchase a subscription to this API.
Let’s start by creating a new file called index.js inside the js folder. Now, in index.js, we will use the following code to validate email using the Email Validation API.
Explanation
Let’s understand the code. In this code, we have added an event listener in the submitBtn, which prevents the default action of the button, which is to submit the form. This is done by calling the preventDefault() method. Then, the code logs a message to the console indicating that the button has been clicked. This is just for debugging purposes. Then, the code clears the contents of the resultCont element. This element will be used to display the results of the validation. Then, the code fetches the API key from the key variable. The API key is used to authenticate the request to the Email Validation API.
Make sure to change this line to your own API key. You can get your own API Key by logging in to your EmailValidation.io account.
Now, the code gets the email address (the email address that will be validated) from the username input element. Next, the code constructs a URL for the Email Validation API. The URL includes the API key and the email address that will be validated. Then, the code makes a request to the Email Validation API. The await keyword is used to ensure that the API request is completed before the rest of the code is executed. Finally, the code parses the response from the API as JSON. The JSON response contains the results of the validation. The code then loops over the properties of the result object. For each property, the code checks if the value is not empty or a space. If the value is not empty or a space, the code adds a new <div> element to the str string with the property name and value. Finally, the code logs the str string to the console and sets the contents of the resultCont element to the str string.
Now our application is finished and this is how it will look:
Conclusion and GitHub Link
So this is how you can create an email validator using HTML, CSS, JavaScript and Email Validation API. For your convenience.